Clicking on an image will take you to a larger version (30 - 50 kB) of eahc
picture.

|
The onboard camera (already with the lens removed. Humberto didn't give
me the time to take a picture in original state.

|

|

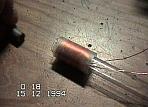
First idea for the trigger: recover the solenoid of this old doorbell.
But it resulted way too weak. |
|
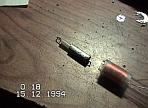
So we had to roll our own. After quite a few experiments, this was
the result.

|
|

Another view, with its anchor. |
|
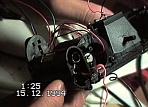
The battery compartment was just below the trigger button, the ideal
place to mount the trigger coil. The coil form is just visible.

|

|

The camera contained some unexpected things, like this transistor circuit,
apparently to detect the end of the film roll, and to rewind. |

|
The hybrid combination of many different modules forced us to plan
a variety of power supplies, each with different requirements for
current and capacity.

|
|

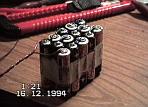
To avoid large temperature differences between cells, each battery block
was rigidly glued together with hot glue. |
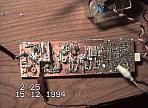
|
General view of the the beacon and the controller.

|

|

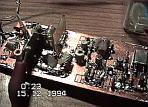
Detail of the RF part. The 'weird' things are RF inductors, reinforced
with drops of hot glue to avoid problems with vibrations (falls!). |
|
Otra vista de la baliza.

|
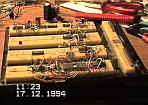
|

The prototype of the image generator for Slow Scan Television
(SSTV). |
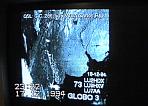
|
This was the image record in the EPROM

|
|

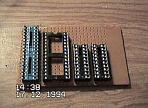
Starting the construction of the payload. No time for printed circuit
boards! |
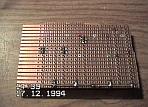
|
Idem, solder side.

|
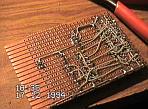
|

After making most of the connections... Though it doesn't look too
reliable, this technique never failed me! |

|
Foto sensor: translated, a photocell from an old calculator.
This is a low budget project... A BNC connected permits comparing sizes

|

|

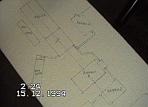
Preparation of the foam block. The marking is the place where each module
will be placed. This is relatively high density foam, for its mechanical
resistance, and much better quality. |
|
Idem, un poco mas de cerca.

|
|

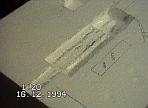
The compartments for the electronic modules where 'opened up' by just
approximating a heat source: Large holes with a small butane flame,
and fine adjustments with a soldering iron (without touching). This
space will receive the beacon. |
|
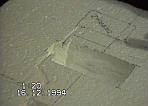
One of the battery compartments.

|

|

General view of the cuts, almost ready... |
|
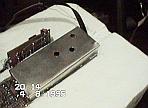
The beacon (with its shielding), with the antenna output. Above the
breacon, the SSTV image generator.

|
|

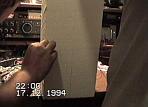
The excessive weight, even after cutting out large parts, forced us
to cut corners, literally, from the outside of the foam block. |
|
We even shaped the exterior form to adjust itself to the contents. This
is where the camera is located.

|
|

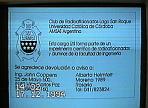
Final touch: the design of the label, inviting whoever finds the payload
to return it as soon as possible |


