
Language:
Español
Index
Forms
Strongback
Stripping
Epoxy
Coaming
Hatches
Closing
Related info
Questions
Bibliography
Peperina team
Other kayakers
Link page
|
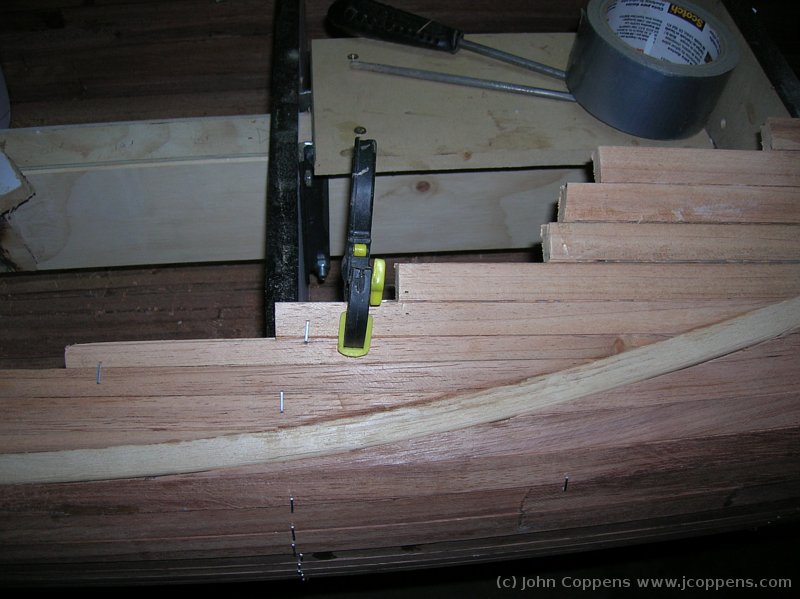
When mounting the last strips, it becomes necessary to improvise and
adapt width and form to the space left.
|
|
|
|
Finished stripping! The length of the strips near the cockpit was 'eyeballed'. Where the length was near enough, I left the rest. |
|||
|
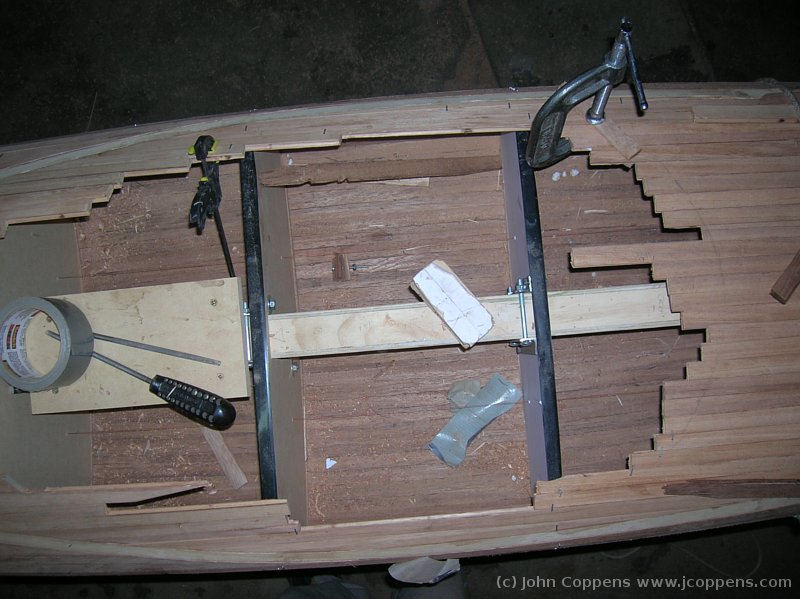
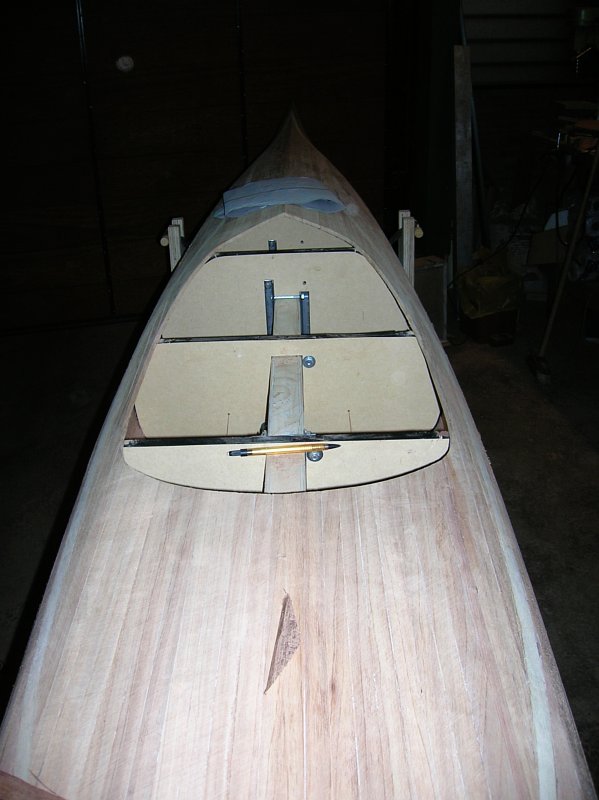
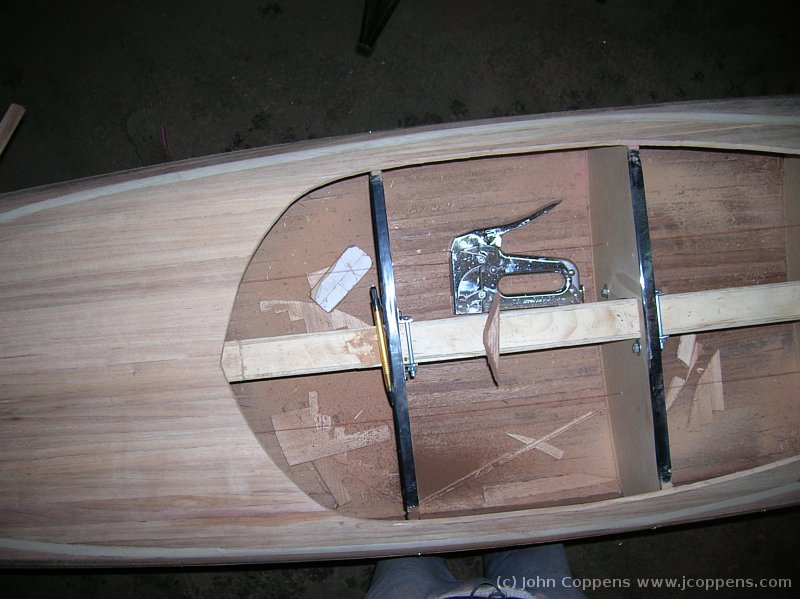
View from above. Using a pencil, I drew an approximate outline of the
cockpit recess (do it better than I did - in one spot, I had only 1
mm left). |
|
After drawing the exact form, using a papel pattern. I cut the
form using a jigsaw, then filed and sanded to the final form.
What a difference - this is actually starting to look like a kayak! |
|
View from above. I slightly modified the back of the recess, to
avoid an abnormally vertical first fill-in strip (the first filler
strip for the rear is resting on the strongback). |
|
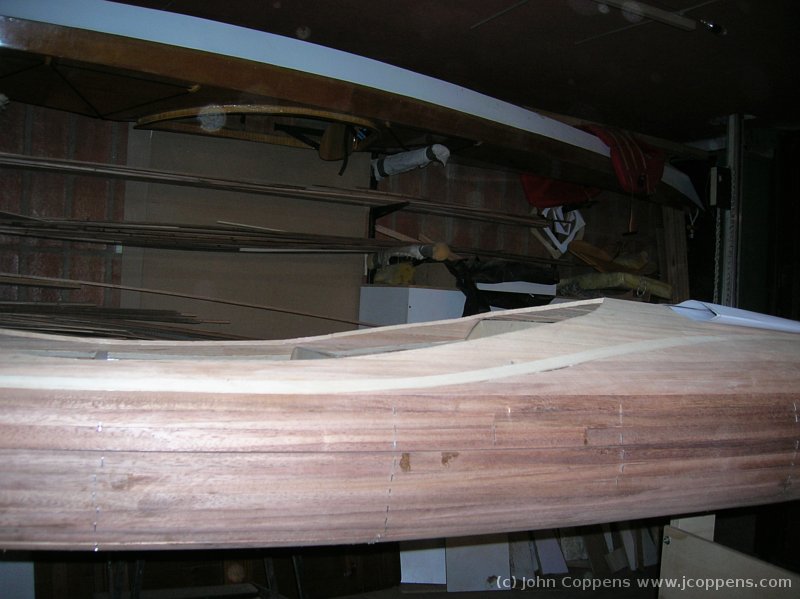
Side view of the recess. The port side stills need a slight
adjustment (too angular). |

|
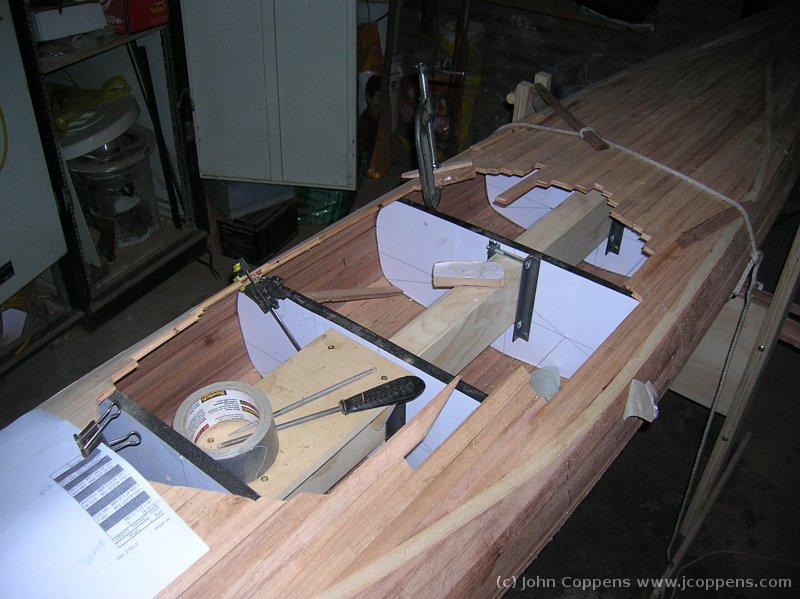
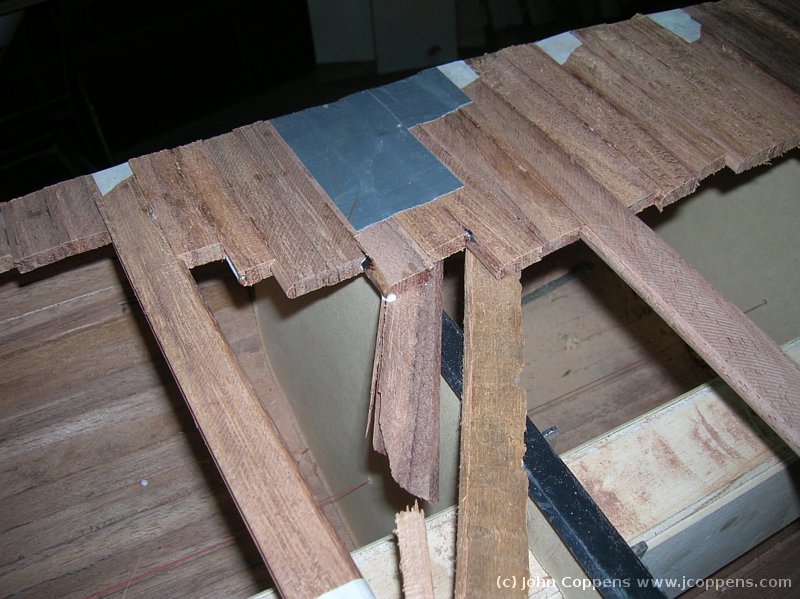
The cutout just made was then filled with strips to form the base
for the coaming of the cockpit. I slightly changed the original
design to have knee braces. |
|
Even with full width strips every 5 to maintain them horizontal,
at some spots, thry still tried to go down. Some pressure from
below was necessary, and then some duct tape to prevent them from
lifting. |
|
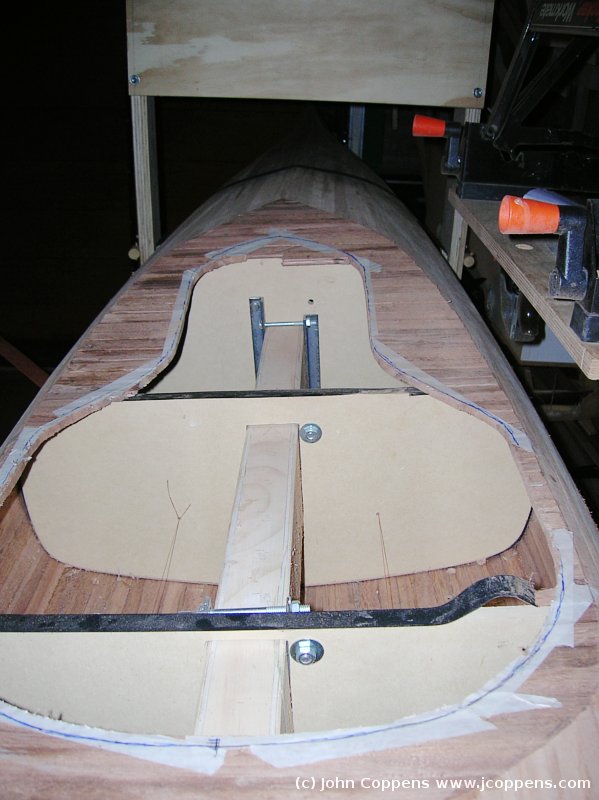
After cutting out the approximate form of the cockpit opening.
I'll finish the opening when I remove the deck from the strongback.
If something feels wrong about this picture, it's because the kayak
is upside down - cockpit under. |
Continues with finishing the bow and stern.
| (c) John Coppens ON6JC/LW3HAZ |