
Language:
Español
Index
Forms
Strongback
Stripping
Epoxy
Coaming
Hatches
Closing
Related info
Questions
Bibliography
Peperina team
Other kayakers
Link page
|
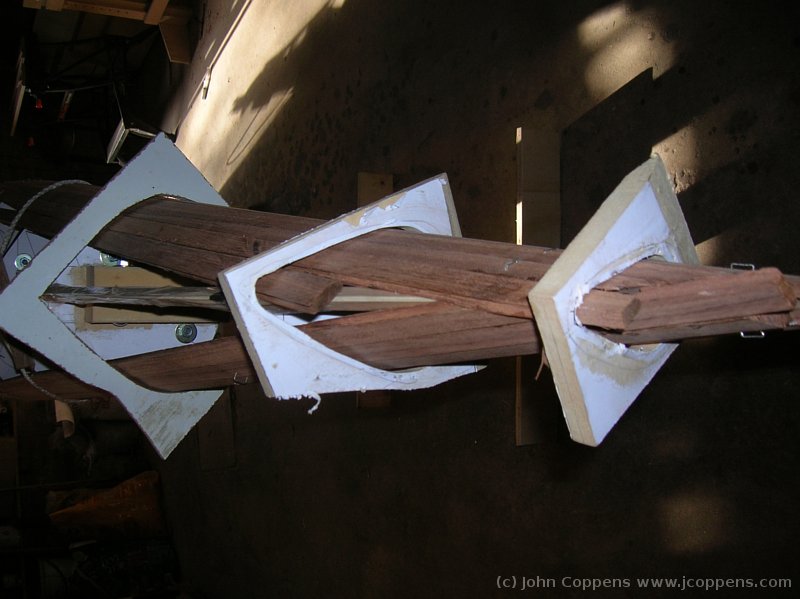
After just a couple of strips (at least with timbo wood), there was
no way to keep them in their place with just the staples. It occurred
tp me that a 'negative' outside form, 6.5 mm larger than the inner one,
could be helpful to press...
|
|
|
|
|
|
|
So, both for the bow...
|
||
|
|
|
|
and the stern, I fabricated 'outside' forms for the first three
divisions. Proof the of the forces at work: the third form at the
stern gave up and broke almost immediately. The outside of the
forms is rather strange, as they were cut from leftover MDF.
|
||
|
|

|
|
|
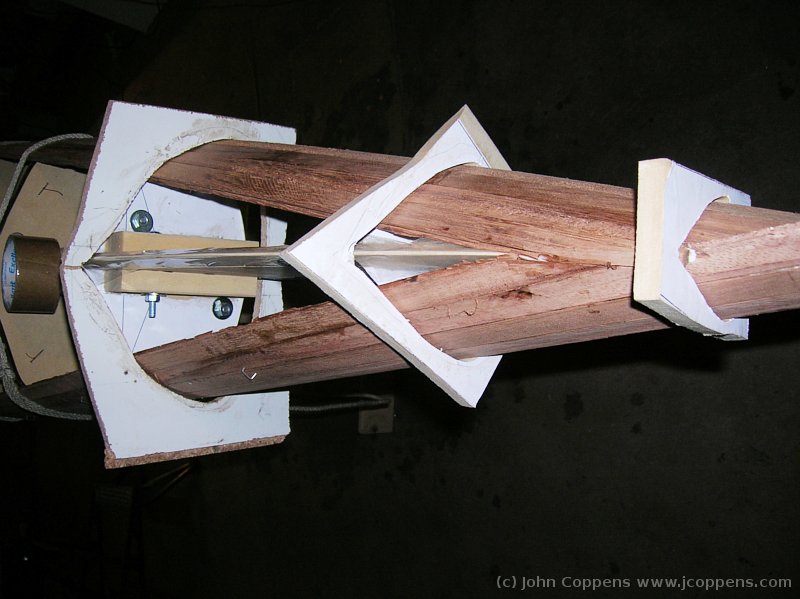
Except for the center couple of forms, at most of the other forms,
the strips needed a lot of convincing to follow the complicated
shape.
|
||
|
|
|
|
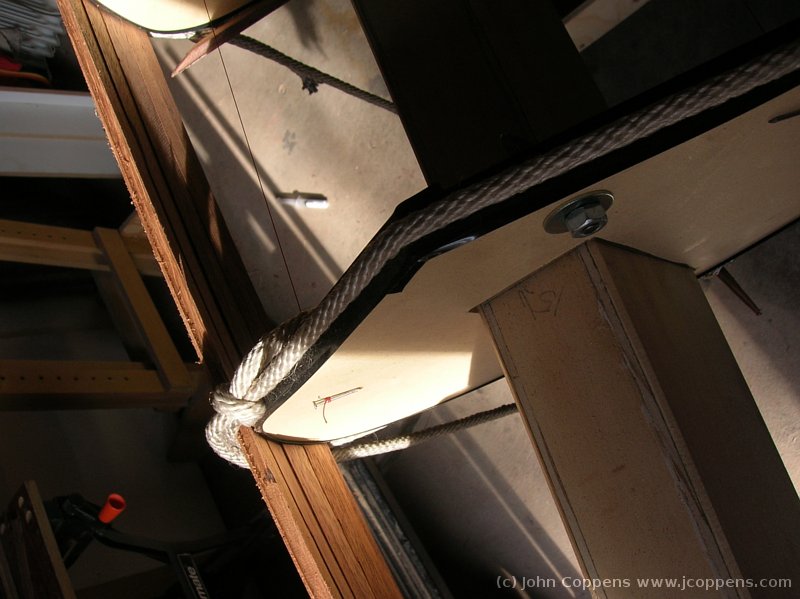
With rope tourniquet and pieces of scrap wood, I could apply (barely)
enough pressure to get the strips in place.
|
||
|
|

|
|
|
The external forms were a great help! Maybe I should make more of them.
|
||
|
|
|
|
The stern with the alternating strips.
|
||
|
|
|
|
|
Idem, a side view. Natural light! We had sun that afternoon.
|
||

|
|
|
|
The stiffness of the timbo wood indicates the need of a 'cheater'
strip.
|
||
|
|

|
|
|
Another view with the cheater strip in place (and another, normal
strip too).
|
||
|
|
|
|
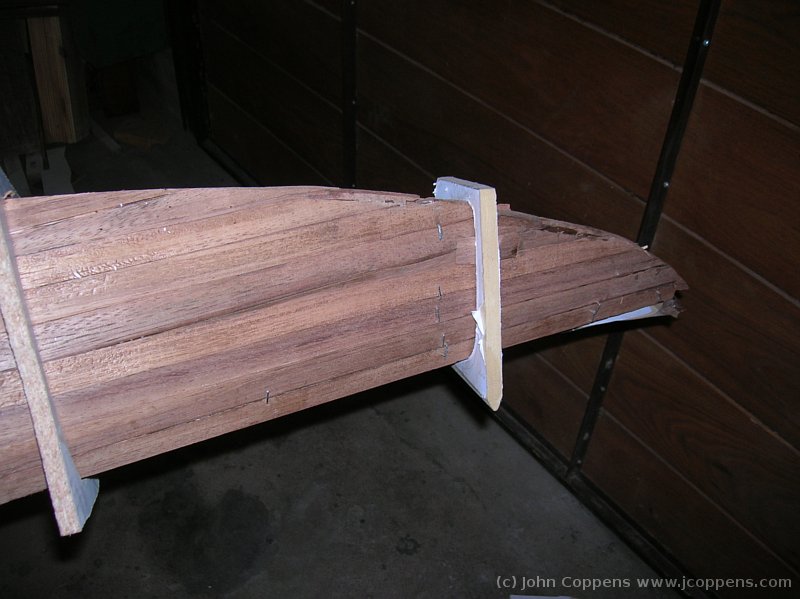
Both at the bow and the stern, it was necessary to install the
supplementary strips.
|
||
|
|
|
|
|
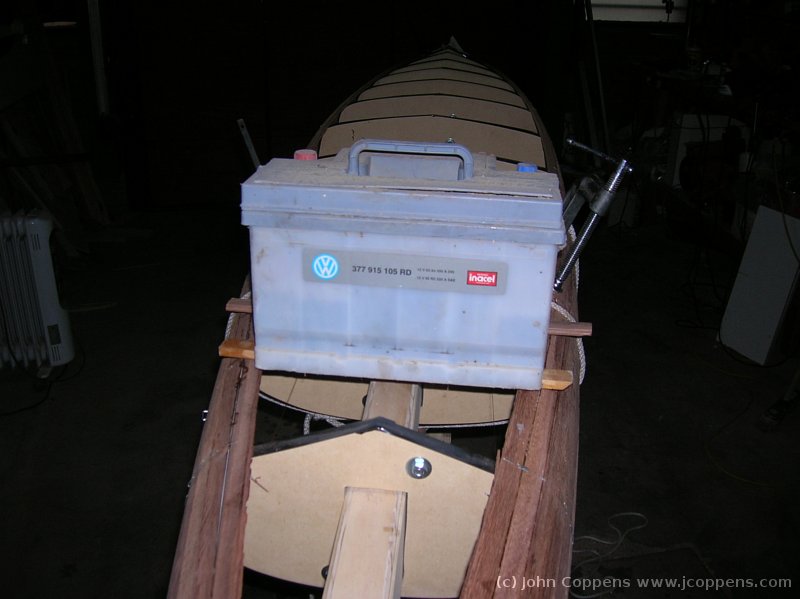
The resistence of the timbo strips made drastic measure necessary:
only the weight of an old car battery was enough to get the
strips to conform to the forms!
|
||

|
|
|
|
View from the bow - it's nice to see the kayak growing! Later,
I installed abother battery 'weight' at this side too. After
6 strips, the entire construction starts to give a very sturdy
impression.
|
||
|
|
|
|
|
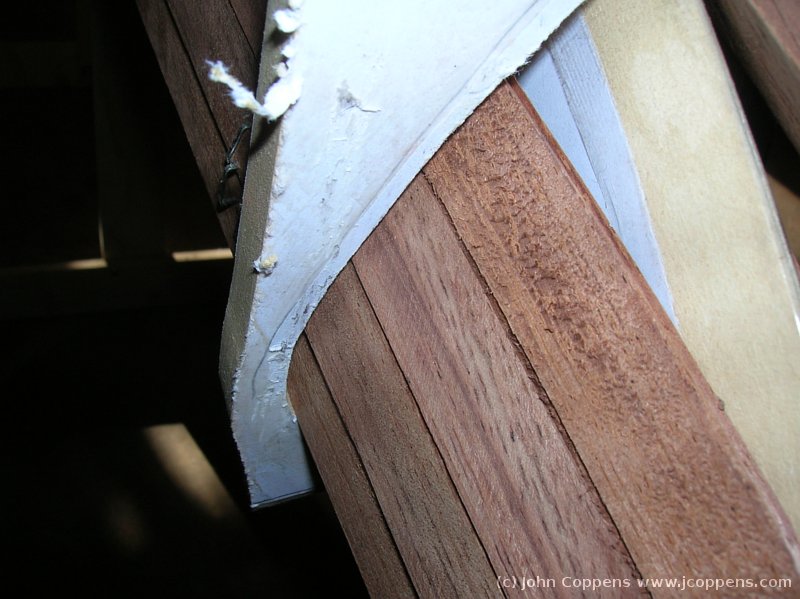
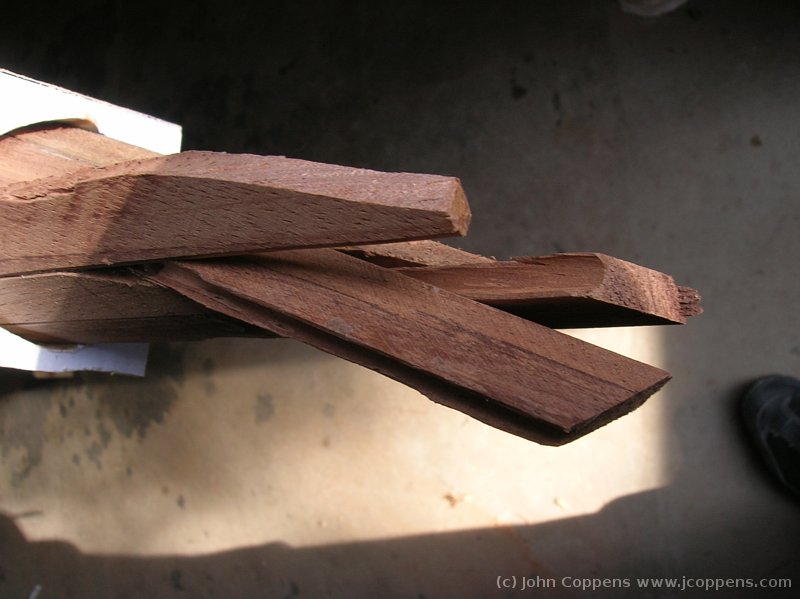
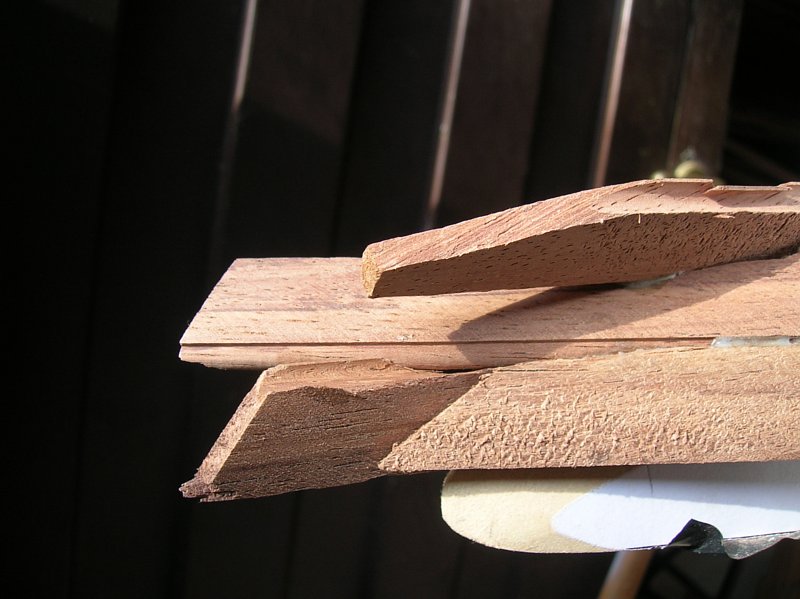
The bow - the overlapping strips were in the way, so I planed them
down to a more practical size.
|
||
|
|
|
|
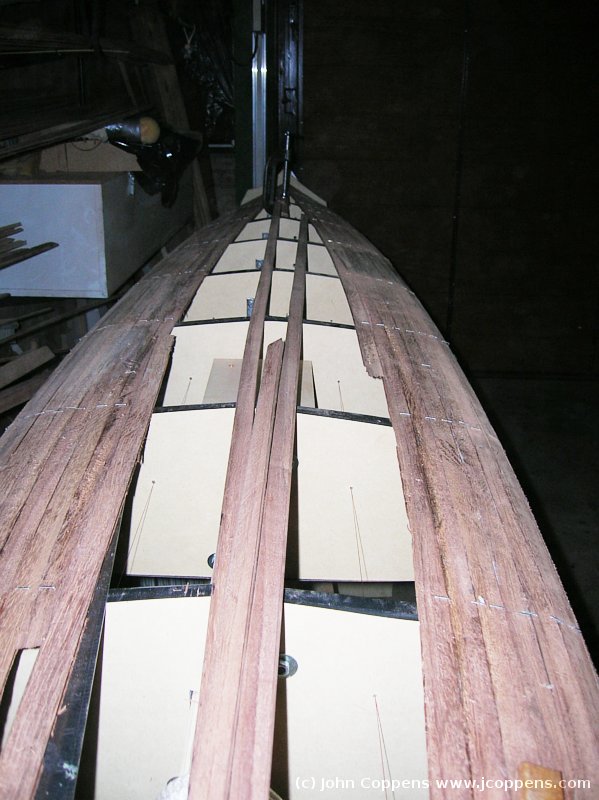
Only few strips to finish the bottom! Pity it's just those that take
the most time.
|
||
|
|

|
|
|
Fitting the side strips to the central ones, a job requiring some
patience.
|
||

|
|
|
|
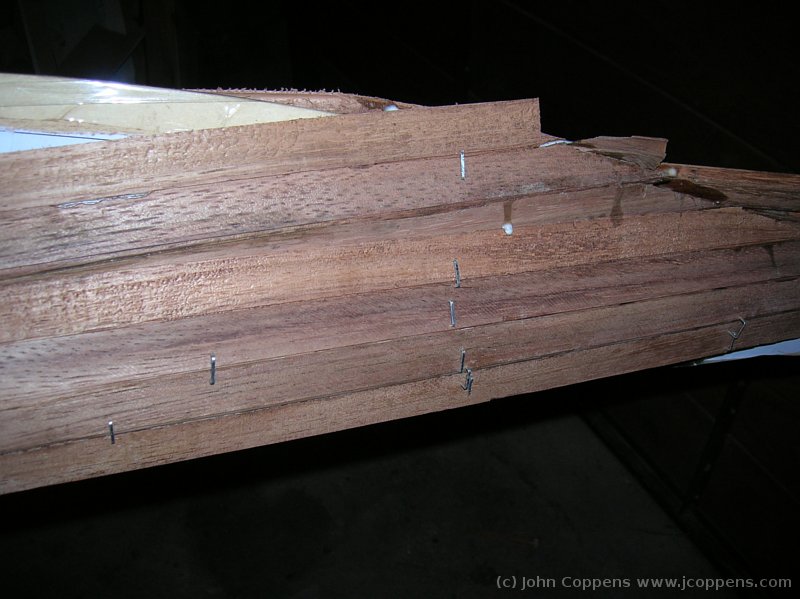
Another example of the adjusting. Even taking care about about the
amount of glue applied, I've used over 300 g.
|
||
|
|

|
|
|
With some more work done... The syringe is very handy to apply the
glue to the center of the cove, avoiding much of the dripping and
providing better access than the bottle.
|
||
|
|
|
|
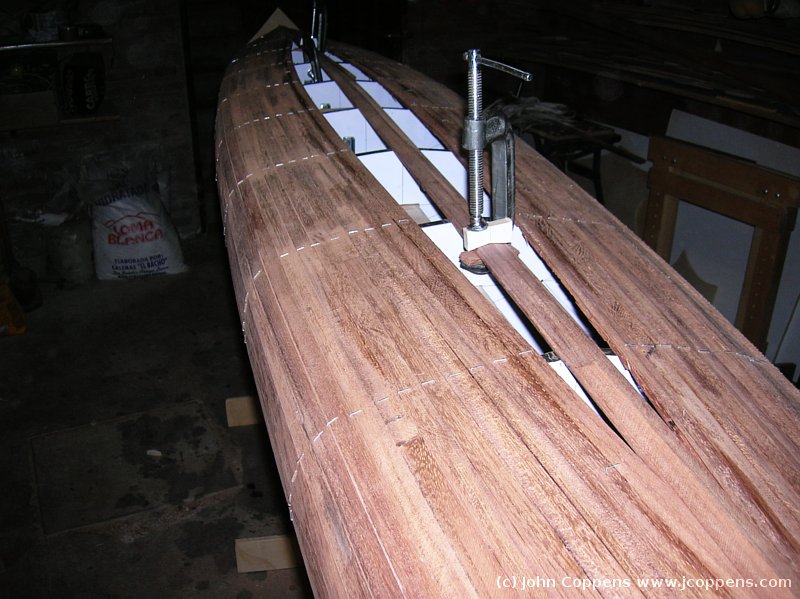
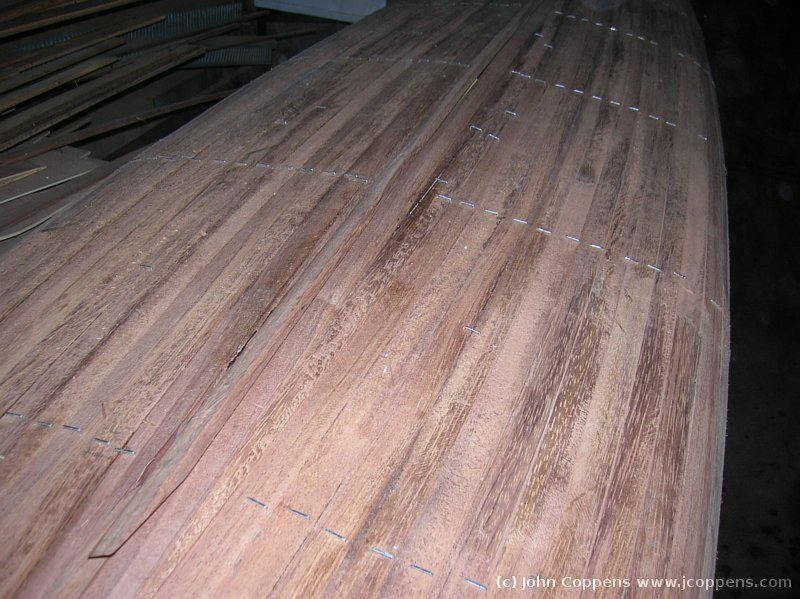
Only three or four strips missing on each side!
The middle two strips are not being glued
yet, to facilitate mounting the last strips.
|
||
|
|
|
|
|
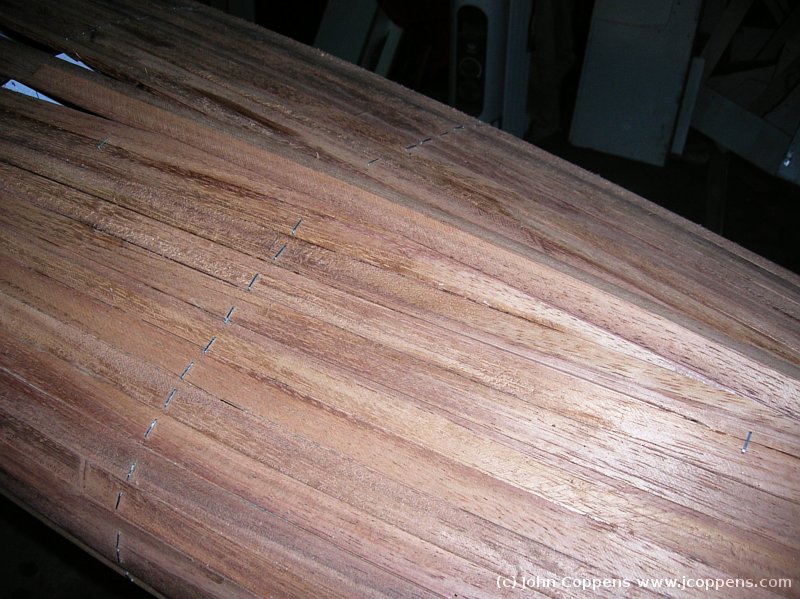
Timbo wood looks fairly light colored, but will darken a lot when
the epoxy is appied.
|
||
|
|
|
|
Almost done (the hull)! I still have to remove the central strips,
and glue them permanently.
|
||
|
|
|
|
|
The middle strips removed for a final touch, and to apply the glue.
|
||

|
|
|
|
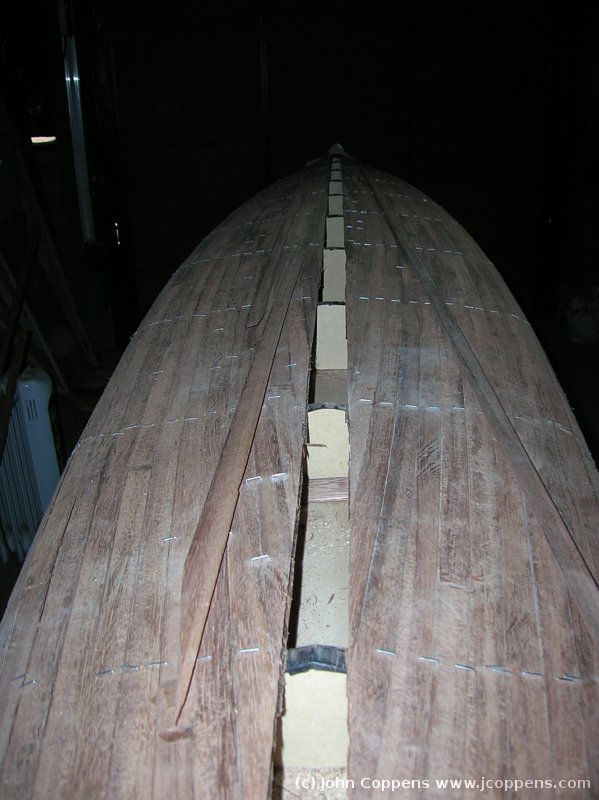
The hull is ready! A view towards the stern...
|
||
|
|

|
|
|
... and towards the bow. I'll leave touching up and sanding till
after finishing the deck. It's too cold in the shop - only 5 degrees -
and it's snowing enough to remain on the ground (first time in some
35 years).
|
||
Continues with working on the deck.
| (c) John Coppens ON6JC/LW3HAZ |