
Language:
Español
Index
Forms
Strongback
Stripping
Epoxy
Coaming
Hatches
Closing
Related info
Questions
Bibliography
Peperina team
Other kayakers
Link page
Predicably, the problems appeared where at the 'butt-to-butt' joints of the larger sides. In hindsight, maybe it would have been better to scarf them together. The extra time probably would have saved me a day of repairing now!
I decided to make a scarf, and fit a piece of wood to fit exactly. I only had one piece of scrap plywood left, so, the other repair will have to be pine.
|
With a lot of patience, using the band sander, I was able to get
an acceptable scarf: about 13 mm deep, and 8 cm to each side of the
the problem area. It is not long enough (13 mm x 8 = 104 mm) but
I promised myself not to drop the strongback again.
|
|
|
|
|
|
|
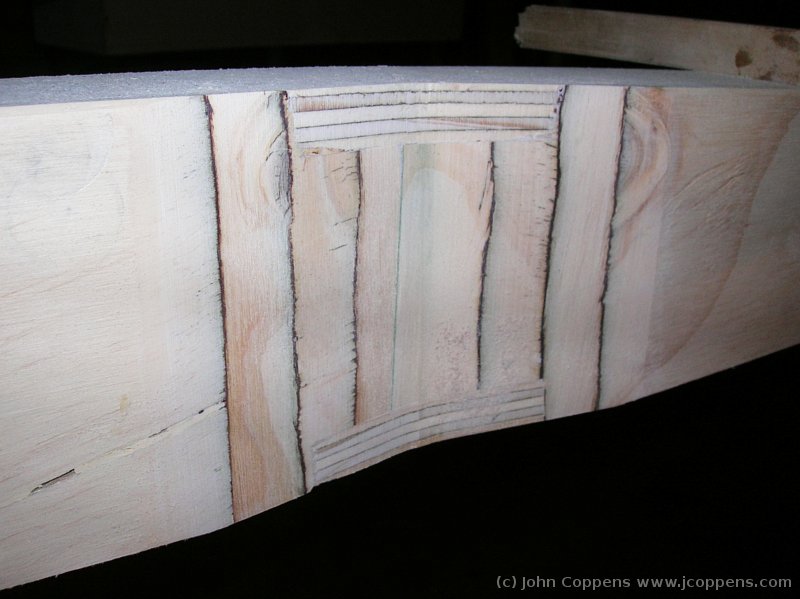
The piece of scrap plywood being fitted. The dark lines are the
glue lines between plies. They're useful to indicate if you're
sanding parallel, and at the right slope.
|
||
|
|
|
|
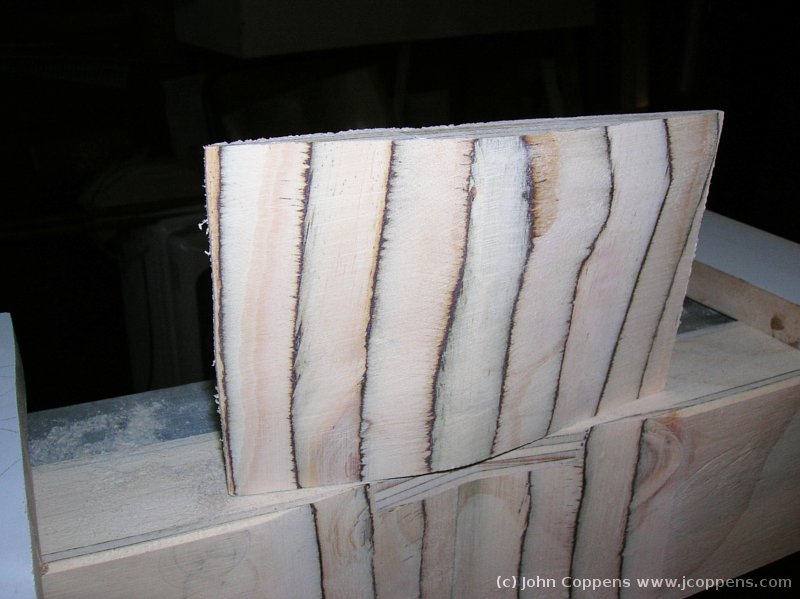
The other problem spot had to be repaired with pine. Here's the piece,
already glued into place, and sanded down.
|
||
|
|

|
|
|
Another view, on the same side.
|
||

|
|
|
|
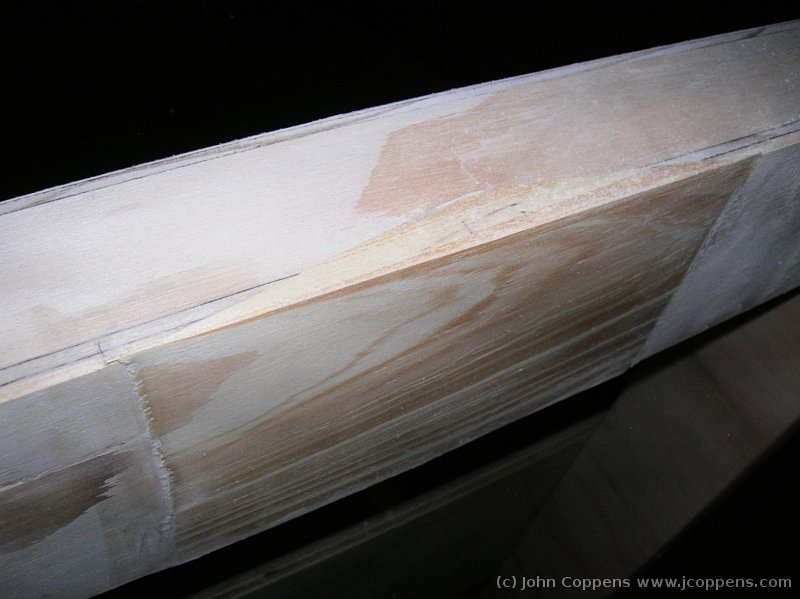
The other side, slightly better finished. The break is still noticeable
where the narrow strip split (lower part of the image). Mechanically,
the short sides are not that important, so I didn't try to repair
them.
|
||
| (c) John Coppens ON6JC/LW3HAZ |